One Year With a Raspberry Pi Kubernetes Cluster
Ever since my first ssh command, I’ve been a network geek.
Having my share of experiences with terminals, tunnels, virtual machines, switches, routers and whatnot, looking at a bunch of LEDs flickering inside a network rack gives me a certain satisfaction.
So the idea of a not-your-typical home network always stuck with me.
This is article numero uno of a series of articles about putting together a Kubernetes cluster on a bunch of Raspberry PIs, so you can have your very own personal home lab.
In the next articles, I’ll break down the necessary steps in a more detailed approach, focusing more on the configuration of each component and tool.
For now, here’s an introduction.
Until May 2020, I had a small Kubernetes cluster running on DigitalOcean, which was mainly used for a client project. The project was cancelled in 2019, but I kept the cluster online to host some personal projects and play with Kubernetes.
But when Covid-19 hit and a cost-saving strategy was very much needed, a 100$/month Kubernetes playground sounded a bit insane.
So I needed a solution to still run my apps and projects on a Kubernetes playground but keep the costs to a minimum.
I read some articles about running Kubernetes on RaspberryPIs and it hit me.
Hardware necessities
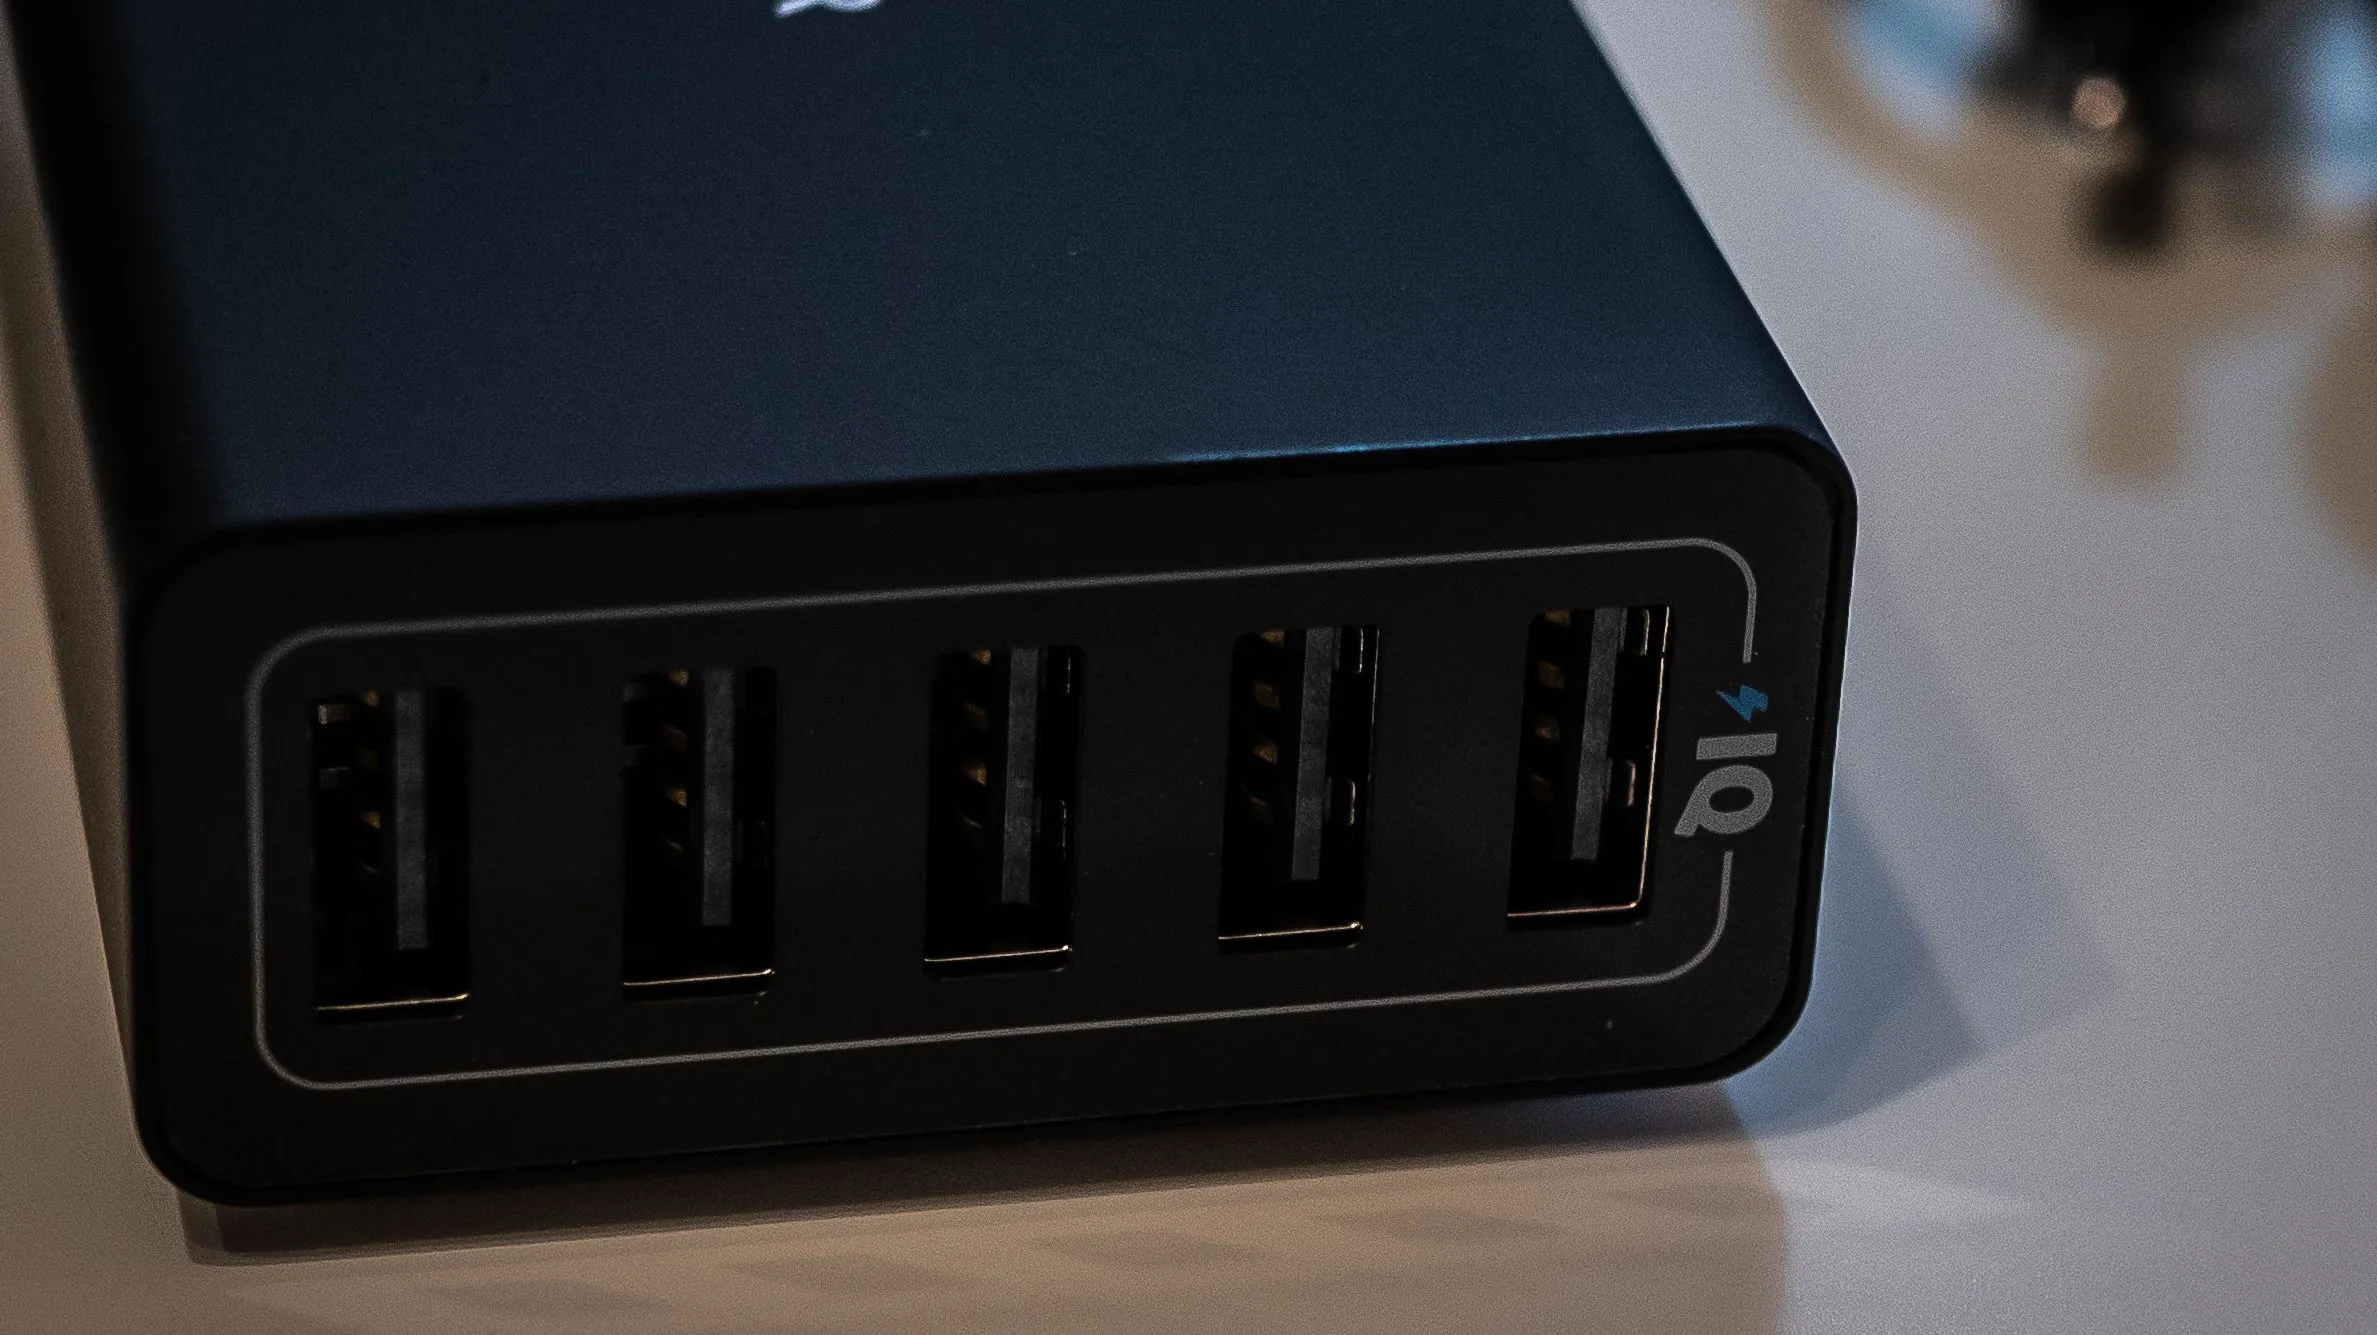
USB hub that will power the PI boards - Anker Powerport 5 40W
It’s mid of April 2020…
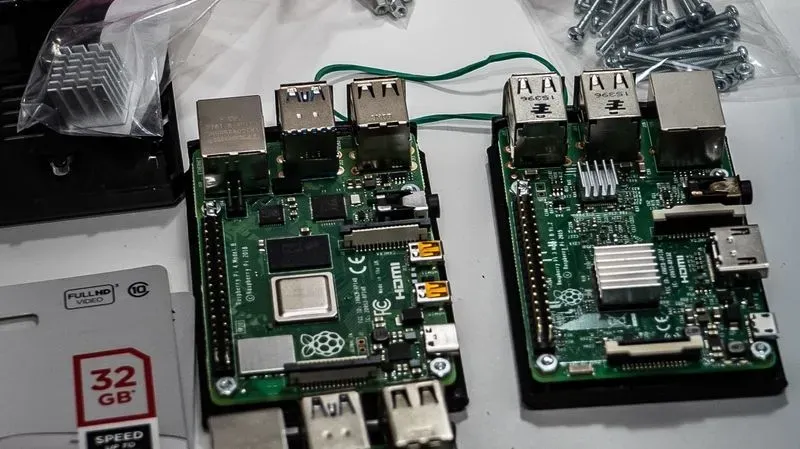
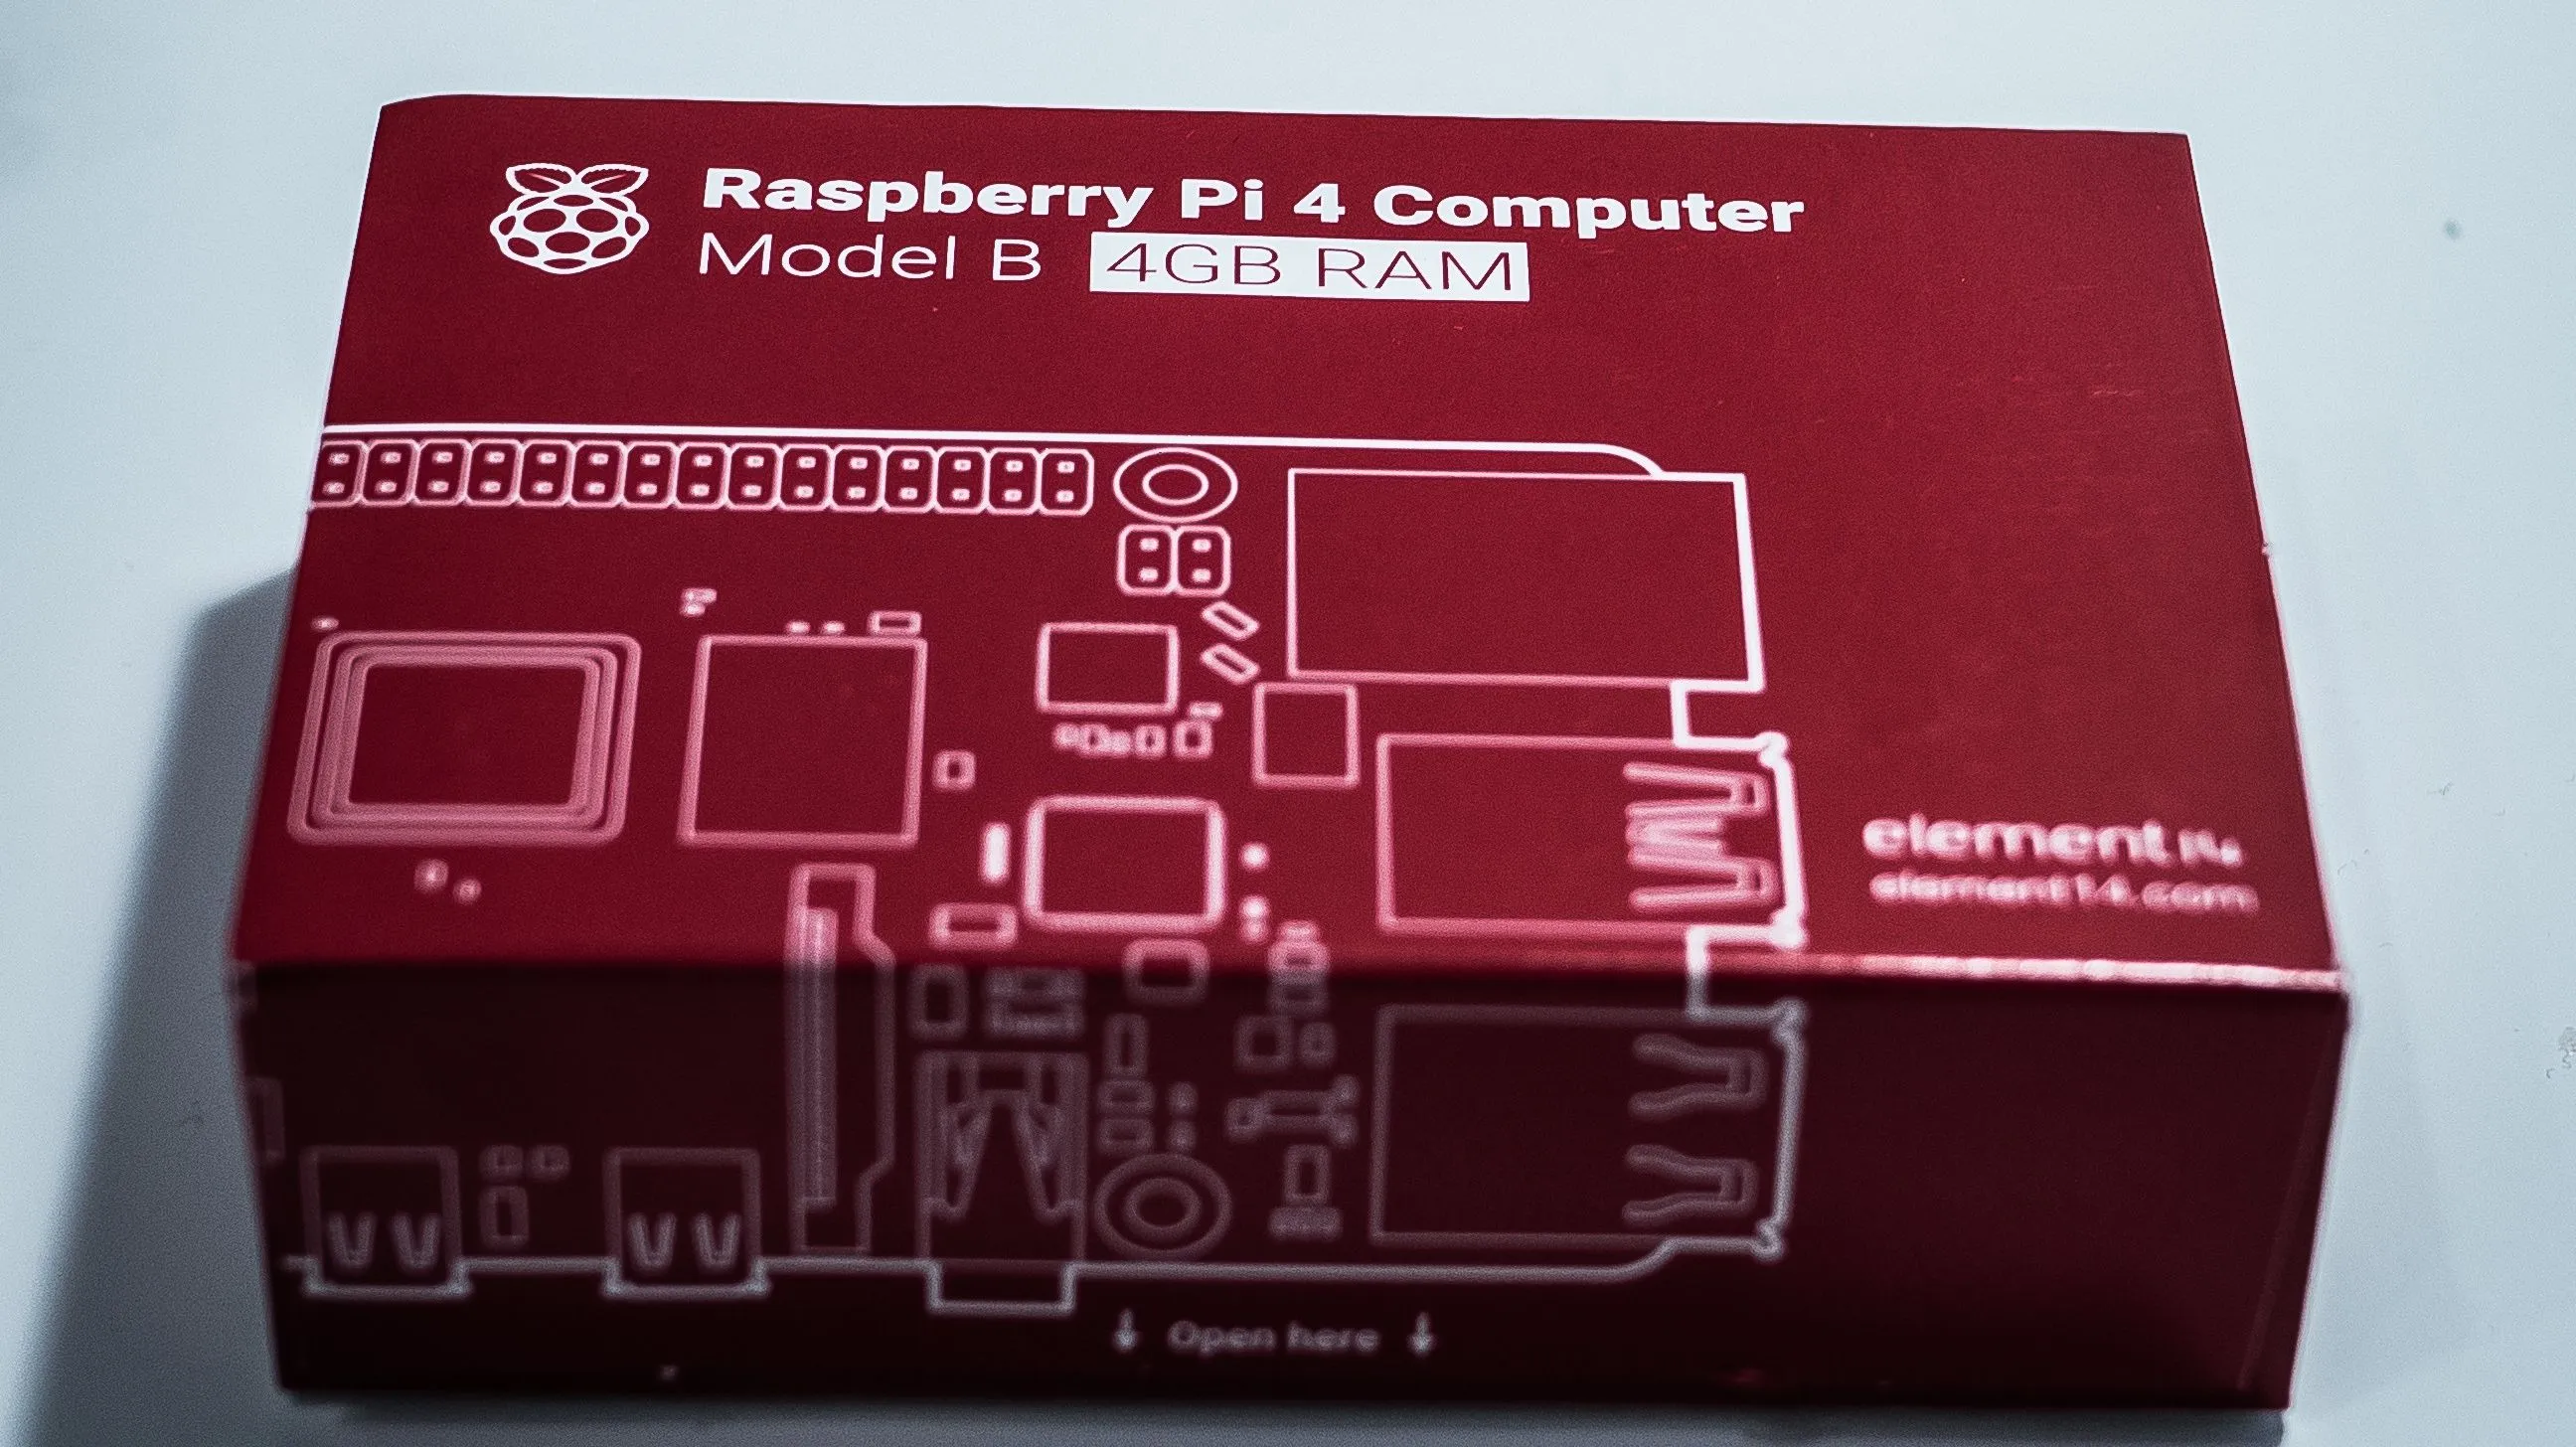
After a bit of research on Raspberry Kubernetes clusters, I purchase 3 new PIs — the 4GB RAM model.
Soon this turns into a really fun DIY project.
Here's why...
Having a 3D printer lying around I thought “Why not make something to hold these boards”. This takes me to some 3D marketplaces where I find an actual PI Rack 3D model.
I modify the model with OpenSCAD to meet my needs — or lack of all materials, actually.
I’ve been planning for a while now to rearrange my messy home network into something more elegant.
My cost-saving plan turns into pure geek fun. What else is there to do in a lockdown, in April ‘20…
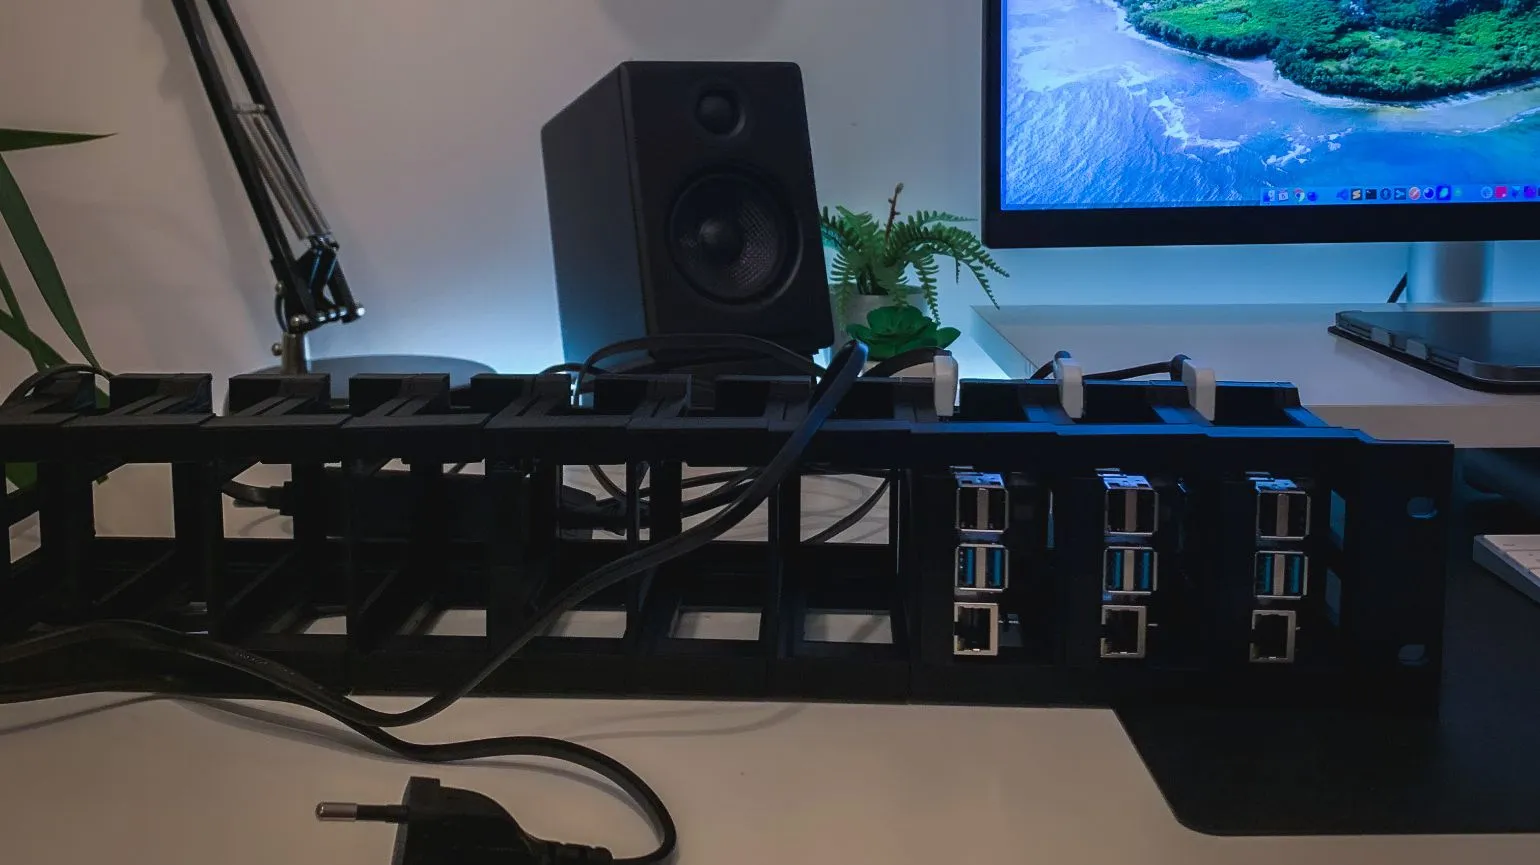
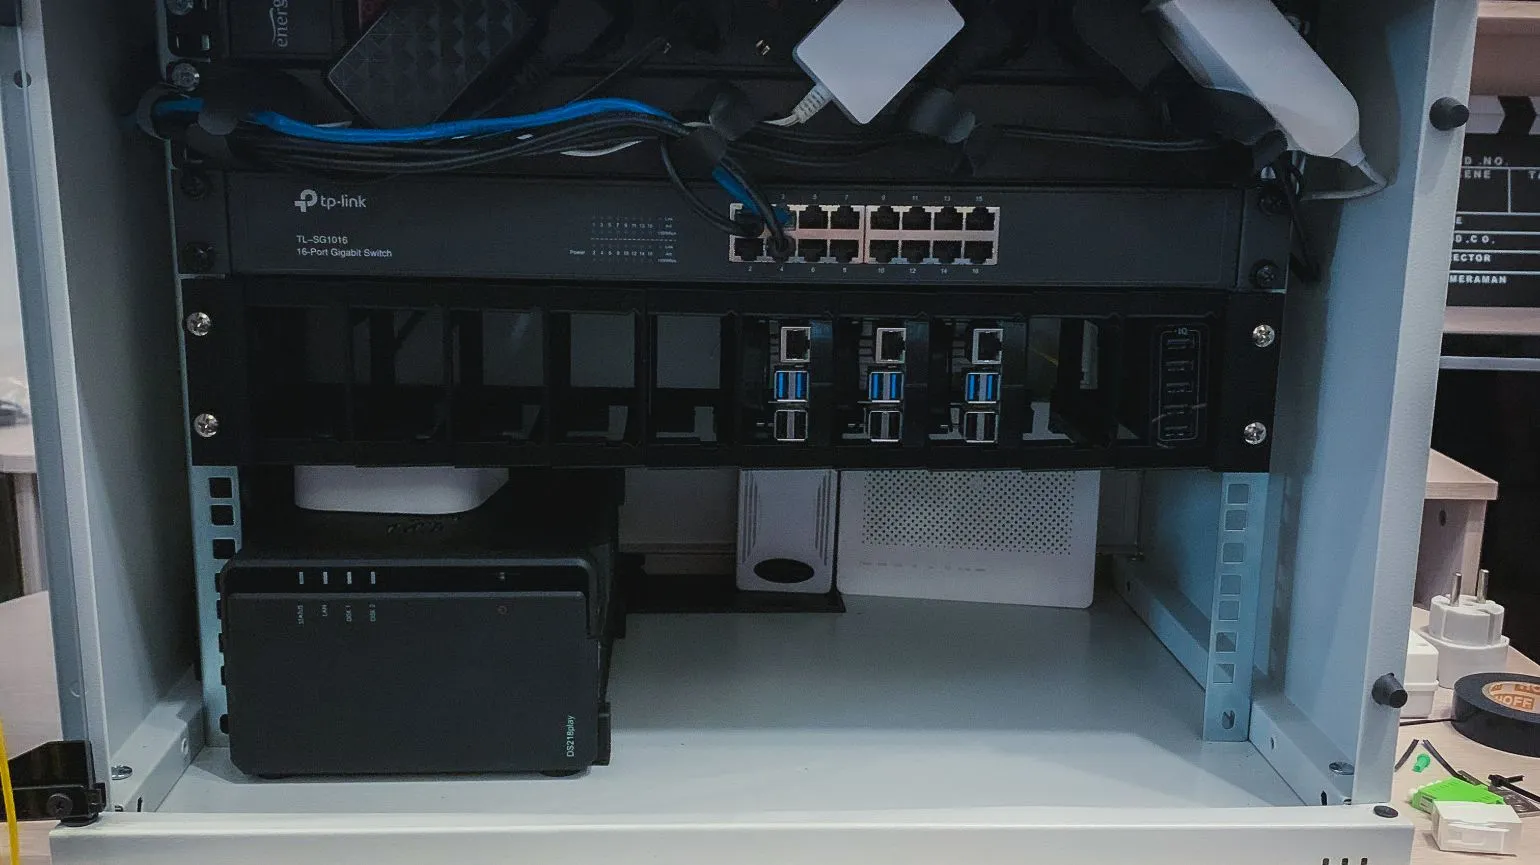
I purchase a Digitus 7U rack, a TPLink 16 port switch, a rack power strip and all the nuts, bolts, adapters and cables.
It’s time to print the whole PI thing, which takes a bit over 5 days to finish. That’s 2 PI frames/day with a total of 10 to make up the entire rack.
In the end, this is how it looks like.
Software necessities
While the PI rack is printing, it’s time to set up the boards and the cluster.
For this, I use k3s, a lightweight version of Kubernetes, built by the amazing folks at Rancher, perfect for ARM.
Soon, I realize that it’s going to be different than what I’ve done before just because…ARM.
Different architecture calls for different builds of all the different tools.
Luckily there are docker images for almost all tools I need to run a Kubernetes cluster on an ARM setup.
To access apps on the cluster, an Ingress controller is needed. I deploy Traefik, a modern HTTP reverse proxy and load balancer made to deploy microservices easily.
For storage, the default configuration relies on something called Local Path Provisioner, which basically stores data on the PI node itself, where it’s deployed. It’s not ideal, cause nodes can fail, so data can be lost.
With a NAS already hooked up to the network — a Synology DS218J+ with 4TB space — a more reliable solution was possible.
Basically, the NAS runs an NFS server that serves the cluster with centralized storage space and all nodes can store and retrieve files from the same space.
It’s no surprise that my old Docker images for my projects won’t run on my new cluster - different architecture (x86_64).
So I need to rebuild all the Docker images to support ARM deployment. For this, I use a new CLI command that Docker provides — buildx. This command makes it easy to build multi-arch images and push them to the same registry.
There are some caveats to this approach, but I’ll cover that in the next articles of this series.
After rebuilding the multi-arch images, I successfully deployed my apps on the new PI cluster.
At this point, things are running fine.
All that is left now is to take it public so I can access these apps from anywhere.
To do this, I need something called an “exit server”, which can be a simple DigitalOcean 5$ VPS with ssh access.
There are a couple of tools that need to run on the exit server.
The first tool is, which is a cloud-native tunnel. It can be used to connect HTTP and TCP services between networks in a secure way, using an encrypted WebSocket.
Its main purpose is to set up a tunnel between my exit server and my private cluster.
Inlets has a client and a server. The server runs on the exit server, waiting for connection from the client, which runs inside the private cluster.
The second tool is a Web Server that does a reverse proxy and redirects incoming traffic to inlets.
The most common web server for this would be nginx, but this time I use Caddy, just because it is simple to set up and has automatic HTTPS via Let’s encrypt. This way, I always have a secure connection to my private apps.
One week in, the rack is ready, print is over, the cluster is running. Time to put everything together.
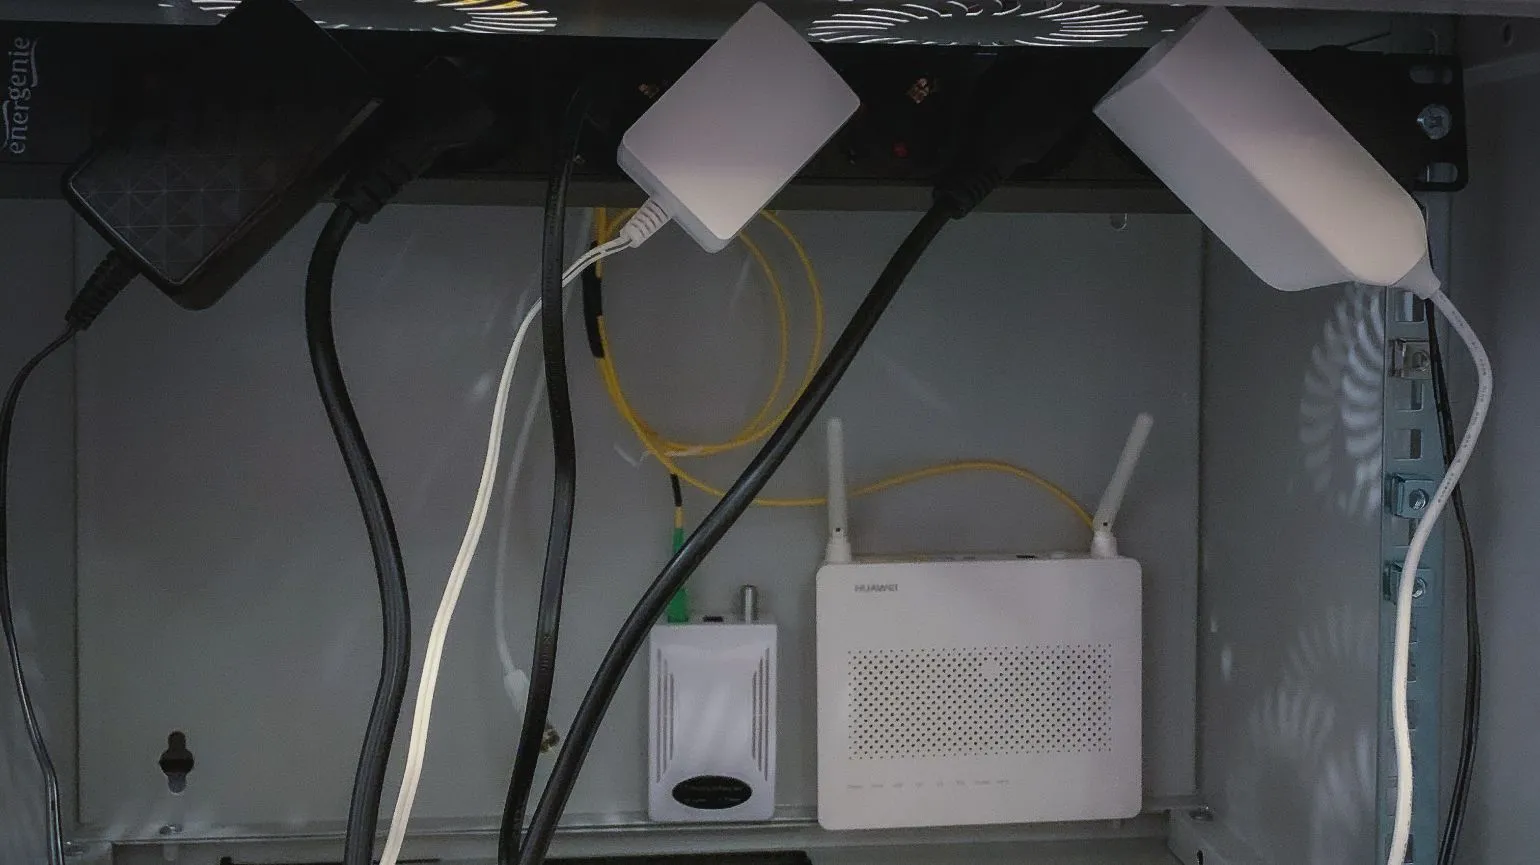
First, cable management
Trying first layout - can't fit the PI rack
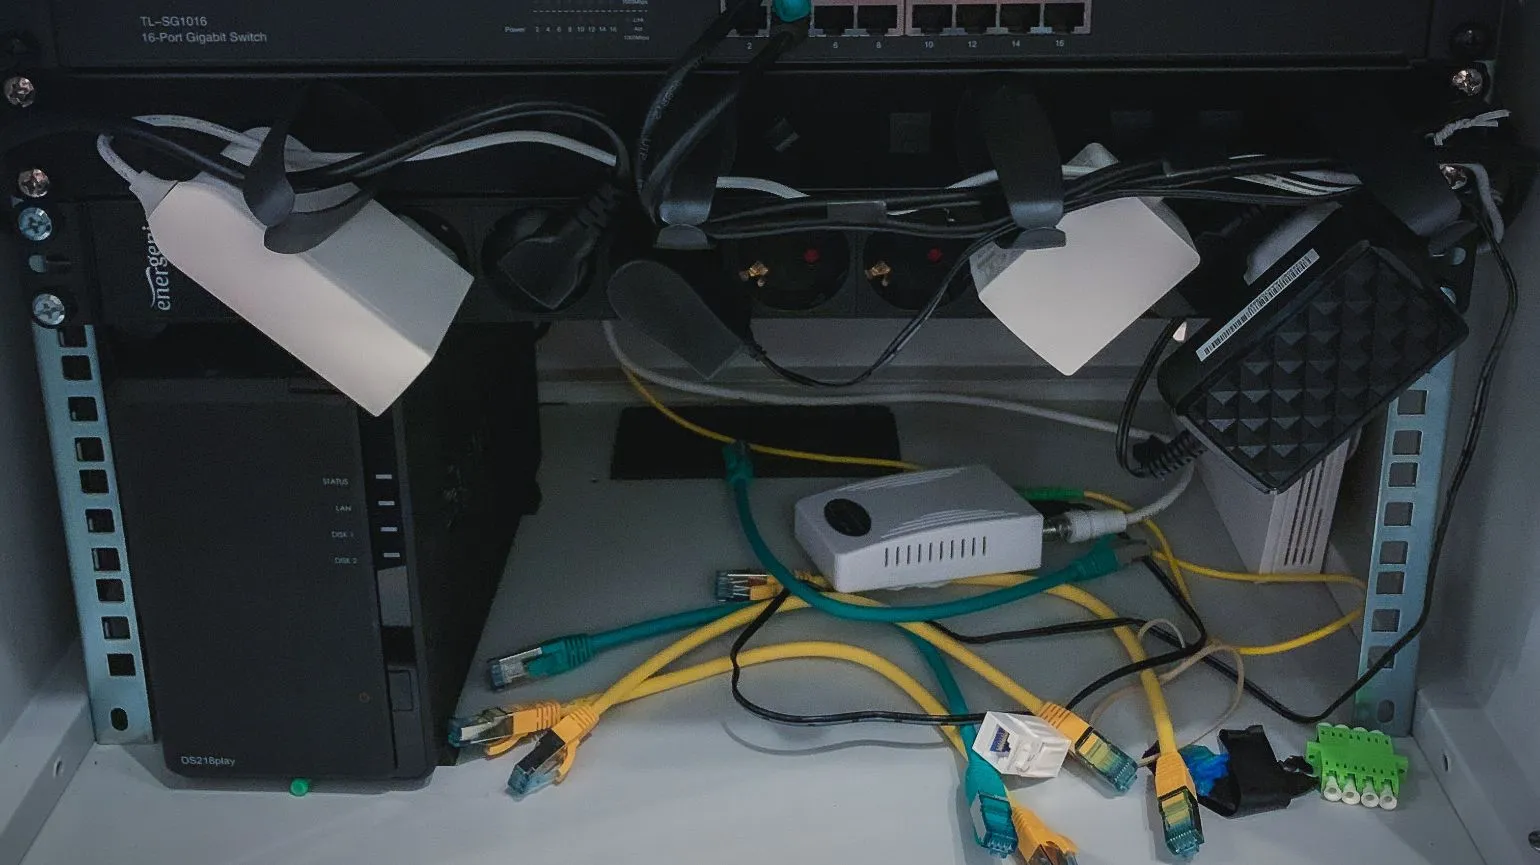
The rack is in
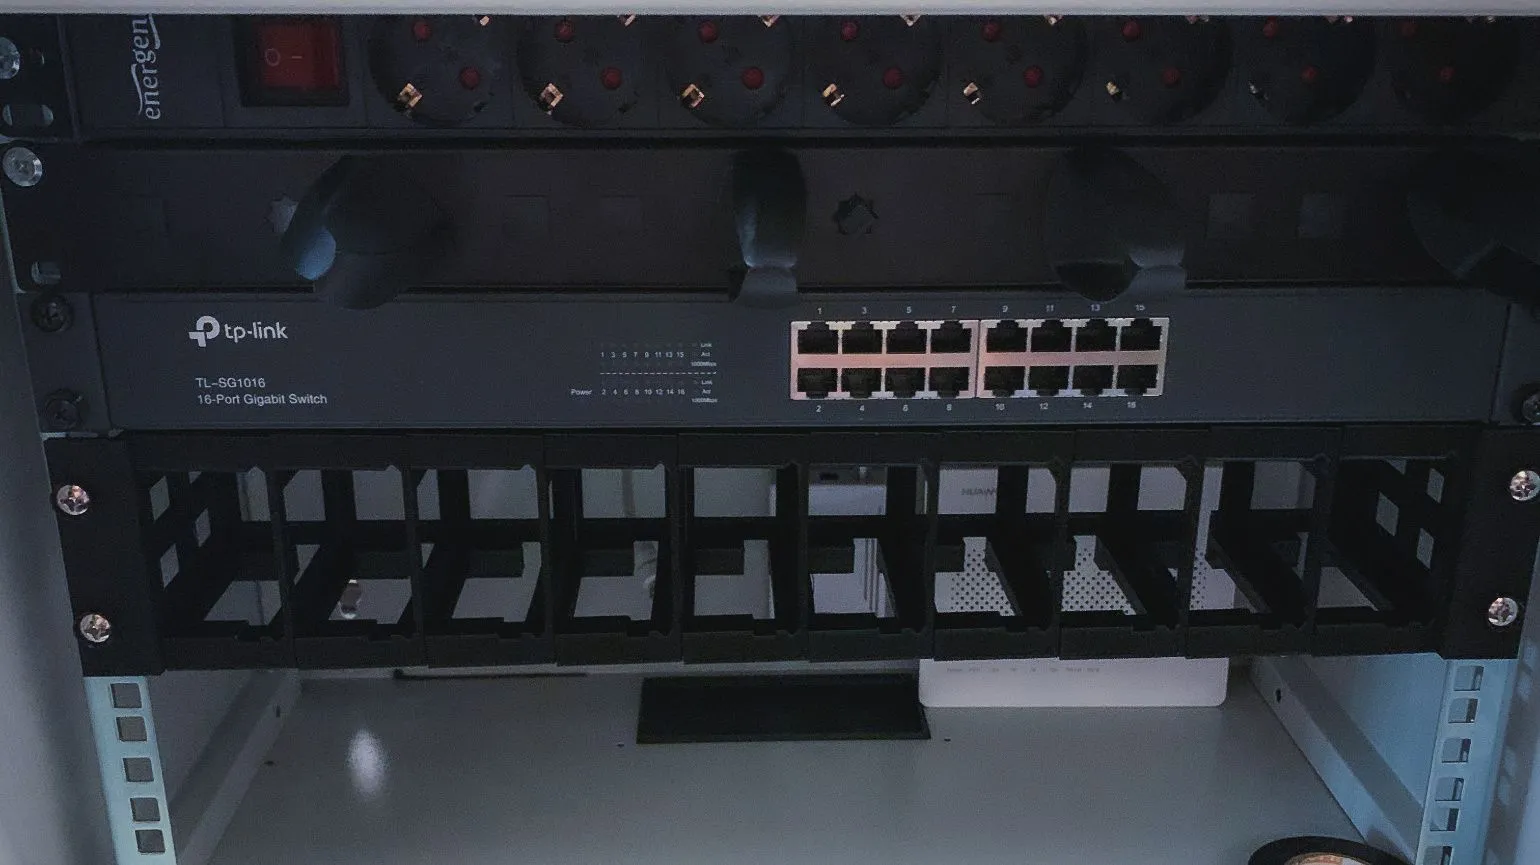
Everything is in place
“After one week, everything is live”
So this is how I went from a ~100$ / month DigitalOcean Kubernetes cluster to a 3D Printed Raspberry PI home lab.
It’s been running ever since, with a few power failures caused by some construction sites near my home. I solved that a couple of months later with a UPS hooked to the entire rack.
Of course, I’m not taking into account the power consumption of the whole rack, but it’s under 100$ / month, for sure.
I have it hooked up to a private Gitlab server where I store private registry images and use them for CI/CD.
Oh, having a Dynamic DNS for your private network helps a lot, if you want to manage the cluster from outside and you don’t have a static IP for your home network.
The exit server only gives access to the apps that run on the cluster, not the cluster itself.
What's next?
First, extend the cluster with another 2–3 nodes.
Second, maybe replace the fans on the PIs with dynamic fans, triggered by temperature. The current ones are running 24/7.
Third (nice-to-have), maybe extend the PIs with Power Over Ethernet, but that requires a new switch too.
In conclusion
Surely there are other ways to set up and play with the Kubernetes cluster, like Minikube, but it wouldn’t be so fun.
It’s a great and affordable way to learn, play and experiment with the whole DevOps journey in a personal home lab.
If you’re interested in building your own Kube home-lab, stay tuned for the upcoming articles of this series by joining my newsletter.
I appreciate your time and thank you for making it to the end.